How to Connect ButterflyMX with Security Cameras for Enhanced Monitoring
ButterflyMX makes property access simple and secure, but when paired with security cameras, it becomes a powerful monitoring solution. Integrating cameras with ButterflyMX allows property managers and residents to verify visitors, monitor entry points, and review recordings if an incident occurs.
This guide will walk you through how to connect ButterflyMX with your security cameras for a more complete access control system.
Step 1: Understand Why Integration Matters
Adding security cameras to ButterflyMX provides:
- Better Verification – Cross-check visitors with both intercom video and external camera feeds.
- Incident Recording – Maintain a clear log of who entered and when.
- Expanded Coverage – Monitor not just entrances, but hallways, lobbies, or parking areas.
- Peace of Mind – Residents and managers get an extra layer of security.
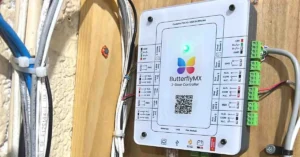
Step 2: Confirm Camera Compatibility
ButterflyMX does not manufacture cameras directly, but it supports integration with most IP-based security cameras.
- Look for cameras that support RTSP (Real-Time Streaming Protocol) or ONVIF standards.
- Popular compatible brands include Axis, Hikvision, Hanwha, and Dahua.
- Ensure your cameras are connected to the same network as your ButterflyMX device.
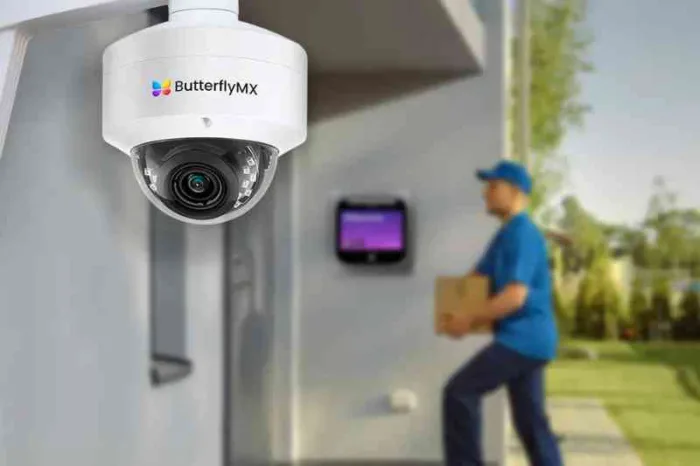
Step 3: Plan Camera Placement
Placement determines how effective your monitoring will be.
- Main Entrance – Always cover the primary entry point.
- Secondary Doors – If you have multiple access points, install cameras at each.
- Common Areas – Position cameras near package rooms, lobbies, or garages.
- Angles & Lighting – Avoid glare or shadows that block visibility.
Step 4: Connect Cameras to the Network
- Mount and secure each camera.
- Connect via Ethernet (PoE preferred) or Wi-Fi (if supported).
- Assign static IP addresses to prevent connectivity issues.
- Test each camera feed individually before integration.
Step 5: Configure Integration in ButterflyMX Dashboard
- Log in to your ButterflyMX property manager dashboard.
- Navigate to Device Integrations → Cameras.
- Enter the RTSP or ONVIF stream details for each camera.
- Label cameras clearly (e.g., “Front Entrance,” “Garage Door”).
- Save settings and test live feeds.
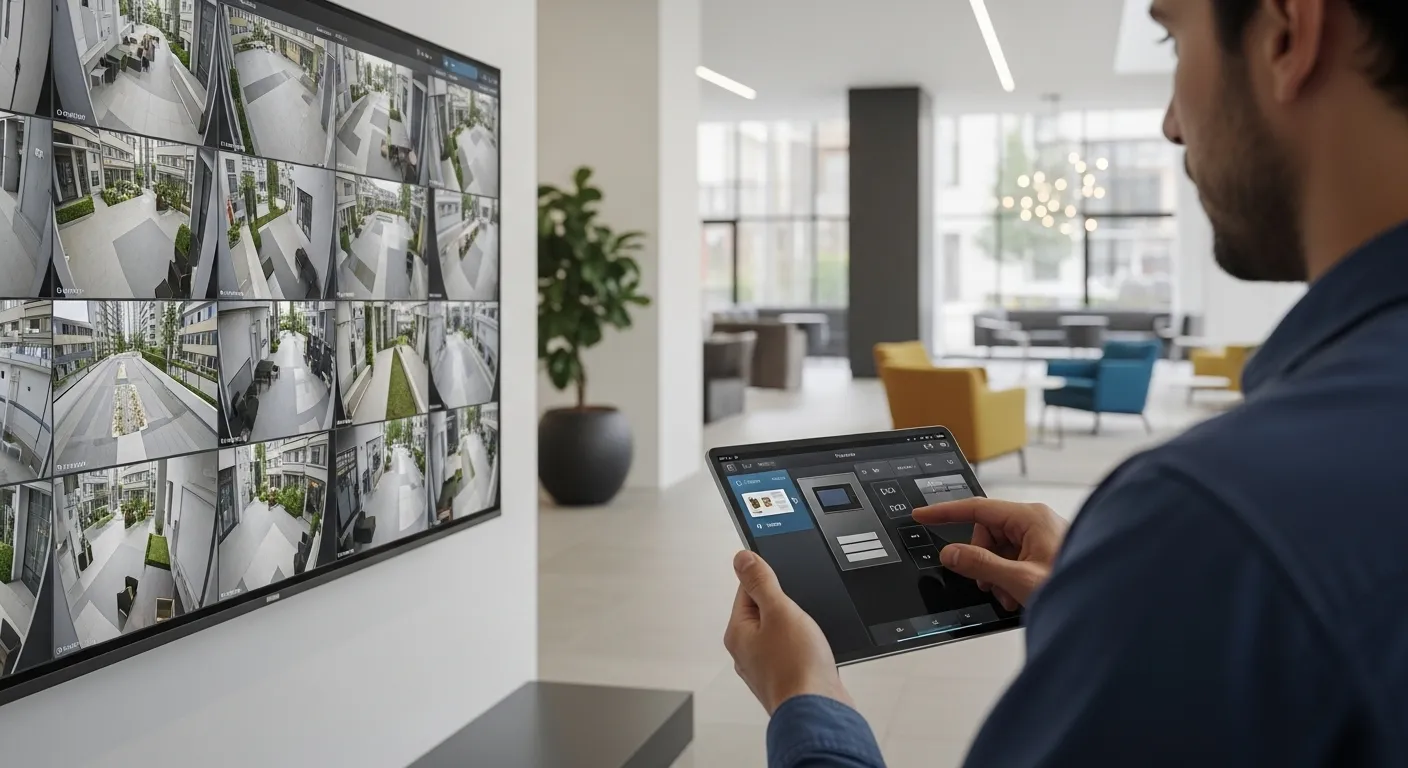
Step 6: Test the Combined System
After setup, verify that everything works together:
- Make a call from the ButterflyMX intercom and check both intercom video and external camera views.
- Confirm that live video streams are accessible to managers.
- Ensure recordings are stored correctly (either in your NVR/DVR or cloud storage).
Step 7: Educate Tenants and Staff
- Tenants should know how to view entry calls through ButterflyMX while relying on added cameras for full monitoring.
- Staff should understand how to access video logs for incident review.
- Provide instructions on who to contact if video feeds are offline.
Step 8: Maintain the System
- Clean camera lenses every 2–3 months.
- Check camera positioning (sometimes they shift slightly).
- Update camera firmware regularly.
- Run a system test after power outages or network resets.
Final Thoughts
Connecting ButterflyMX with security cameras creates a more reliable and secure access system for any property. With careful planning, compatible hardware, and ongoing maintenance, you can give residents confidence and property managers full visibility.
If you’d like professional assistance, MetroCom Security provides certified installation and integration services for ButterflyMX and IP-based camera systems across New York and New Jersey.