How to Set Up Custom Access Schedules in ButterflyMX
One of the biggest advantages of using ButterflyMX for property access control is its flexibility. Beyond standard door entry, ButterflyMX allows property managers to create custom access schedules — ensuring that only the right people can access specific areas at the right time.
This is especially useful for buildings with shared amenities, staff-only areas, or scheduled deliveries. Here’s a step-by-step guide to setting up access schedules in ButterflyMX.
Step 1: Understand Why Access Schedules Matter
Access schedules give you complete control over who can enter and when. Benefits include:
- Enhanced security – limit access after hours to prevent unauthorised entry.
- Better resource management – restrict amenities like gyms or lounges to specific times.
- Convenience – automate delivery access during working hours.
- Customisation – tailor permissions for residents, staff, contractors, and visitors.
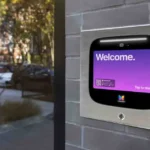
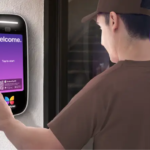
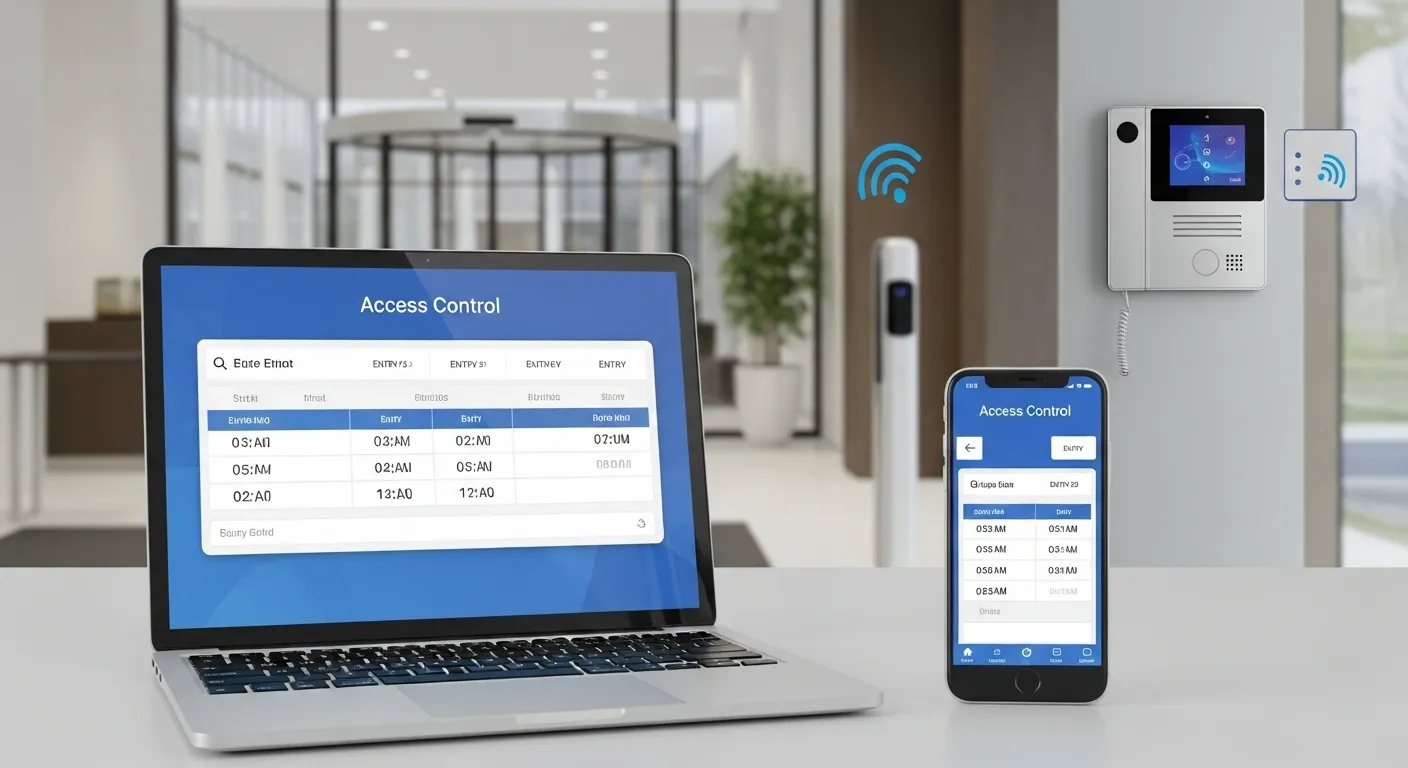
Step 2: Log Into the ButterflyMX Dashboard
To set schedules, you’ll need administrator access.
- Go to the ButterflyMX property manager dashboard.
- Navigate to “Access Control” → “Schedules.”
- Select the device or door where you want to apply a schedule.
Step 3: Create a New Schedule
- Click “Add Schedule”.
- Assign a name (e.g., “Gym Hours,” “Staff Access,” “Delivery Times”).
- Define the days and times when access is allowed.
- Apply the schedule to the selected door, gate, or amenity space.
Step 4: Assign the Schedule to Users or Groups
ButterflyMX lets you apply schedules to individuals or groups:
- Tenants/Residents – restrict amenity access (e.g., gym: 6am–10pm).
- Staff/Contractors – allow maintenance access only during business hours.
- Delivery Services – create weekday-only access windows.
Step 5: Test the Schedule
Before finalising:
- Try accessing the door during allowed times → confirm entry works.
- Try accessing outside allowed times → confirm access is denied.
- Ask a tenant or staff member to test their credentials as well.
Step 6: Monitor & Adjust
Access needs change over time. Review your schedules:
- Monthly – to ensure they’re still aligned with building operations.
- After tenant move-ins/outs – update permissions accordingly.
- For seasonal adjustments – e.g., pool access in summer.
Best Practices for Access Scheduling
- Always label schedules clearly (e.g., “Gym – Residents Only” instead of “Schedule 1”).
- Use group assignments for large buildings to avoid manual errors.
- Regularly audit schedules to check if old ones should be deleted.
Final Thoughts
Custom access schedules make ButterflyMX more than just a smart intercom — they turn it into a powerful security management system. With clear planning and consistent monitoring, you can ensure safety, convenience, and efficiency for both residents and staff.
Need help setting up complex schedules? MetroCom Security provides certified ButterflyMX installation and ongoing support across New York and New Jersey.