Integrating ButterflyMX with Your Property Management System: A Complete Walkthrough
Smart access isn’t just about convenience — it’s also about efficiency. For property managers, manually managing access credentials, tenant lists, and visitor logs can be time-consuming. That’s where ButterflyMX integration with property management systems (PMS) comes in.
By connecting ButterflyMX directly with your PMS, you can automate resident onboarding, streamline move-outs, and keep access permissions updated in real-time. Here’s a step-by-step walkthrough to help you understand and implement this integration.
Step 1: Understand the Benefits of Integration
Before diving into the “how,” it’s important to understand the “why.”
- Automated Onboarding – New tenants are automatically added to ButterflyMX when they’re entered into your PMS.
- Seamless Move-Outs – When a tenant’s lease ends, their access credentials are automatically revoked.
- Reduced Errors – No need to manually update two systems.
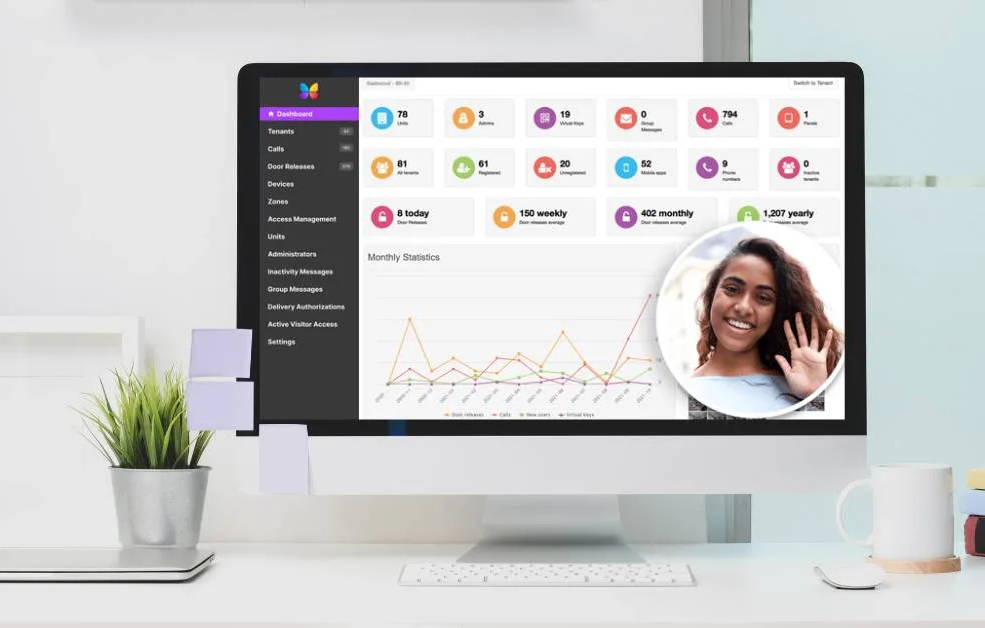
- Centralised Management – Manage everything from one dashboard.
This integration saves time, improves accuracy, and enhances security.
Step 2: Confirm Compatibility
Not every PMS integrates with ButterflyMX out-of-the-box. Popular compatible systems include:
- Yardi
- RealPage
- Entrata
- AppFolio
- MRI
Check with ButterflyMX support to confirm your system is supported, or whether an API-based custom integration is required.
Step 3: Prepare Your Systems
- Ensure your PMS is updated to the latest version.
- Confirm you have administrator access for both PMS and ButterflyMX dashboard.
- Gather integration credentials or API keys (usually provided by ButterflyMX or your PMS vendor).
Step 4: Connect ButterflyMX with Your PMS
Integration typically follows one of two methods:
- Native Integration (Plug-and-Play)
- Go to the ButterflyMX admin dashboard.
- Navigate to Integrations.
- Select your PMS (e.g., AppFolio).
- Enter your API key or login credentials.
- Sync tenant data.
- Custom API Integration
- For unsupported PMS, use the ButterflyMX open API.
- Work with your IT team or vendor to map tenant fields (name, unit number, phone, email) between systems.
- Set up automation triggers for move-ins and move-outs.
Step 5: Test the Integration
Testing is crucial before rolling out to all tenants.
- Add a test tenant in your PMS → confirm they appear in ButterflyMX.
- Remove a tenant from PMS → confirm their ButterflyMX access is revoked.
- Update tenant info (email/phone) → confirm changes sync correctly.
Step 6: Train Your Staff
Make sure your property management team knows:
- How to add residents correctly in the PMS.
- What to do if syncing fails.
- Who to contact for technical support.
This reduces downtime and prevents data errors.
Step 7: Monitor and Maintain
- Run periodic sync checks (weekly or monthly).
- Keep PMS and ButterflyMX software updated.
- Review logs to ensure access rights are accurate.
- Contact ButterflyMX support if you notice sync delays or errors.
Final Thoughts
Integrating ButterflyMX with your property management system is one of the best ways to save time, improve security, and eliminate manual work. By following these steps — from compatibility checks to ongoing monitoring — you can create a seamless experience for both tenants and staff.
If you’re looking for expert installation and integration, MetroCom Security provides certified ButterflyMX solutions tailored for New York and New Jersey properties.