Your Complete ButterflyMX Installation Resource Hub
Installing ButterflyMX devices doesn’t have to be overwhelming. Whether you’re managing a multi-family property, upgrading commercial access control, or setting up a smart intercom system for the first time, this guide walks you through the essentials. With the right preparation and clear steps, you can install and configure ButterflyMX devices efficiently — and know when to call a professional for extra support.
Step 1: Plan Your Installation
Before you begin, take time to map out the installation:
- Identify entry points – doors, gates, package rooms, or elevators where access control is needed.
- Check wiring requirements – ButterflyMX devices often use PoE (Power over Ethernet), so confirm that network cabling is in place.
- Ensure internet connectivity – a reliable internet connection is vital for cloud access and remote management.
- Verify device compatibility – confirm that your ButterflyMX model matches the building’s infrastructure and entry systems.
Good planning avoids rework and ensures smoother setup.
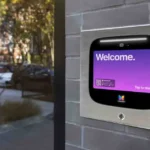
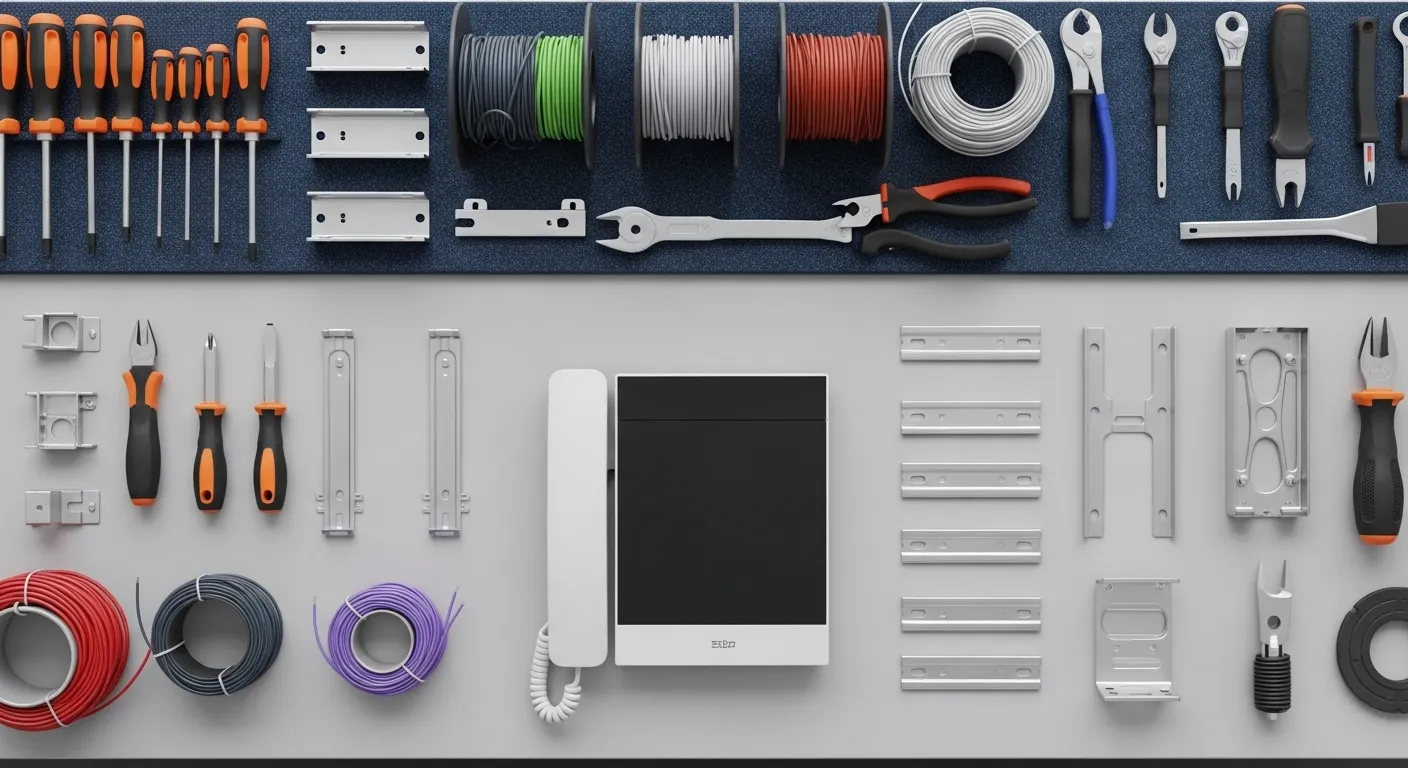
Step 2: Mount the Hardware
Once you know your placement, you can mount the device securely:
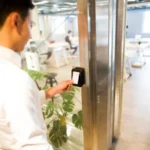
- Mark the location – ensure the intercom or keypad is placed at an accessible height and visible area.
- Prepare the surface – use the mounting template provided by ButterflyMX.
- Secure the device – fasten using screws and anchors suited to the wall material (brick, concrete, or drywall).
- Connect power and network cables – typically via PoE for intercoms, or standard wiring for access controllers.
Tip: Double-check stability before moving to the next step. Devices should be flush, level, and tightly secured.
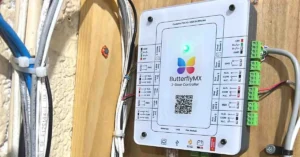
Step 3: Connect to Power and Network
For most installations, ButterflyMX devices are powered by PoE (Power over Ethernet):
- Plug the Ethernet cable into the designated port.
- Connect the other end to a PoE-enabled switch or injector.
- Verify network status lights to ensure power and connectivity.
If installing a door controller or elevator module, follow the wiring diagram in the installation manual for correct terminal connections.
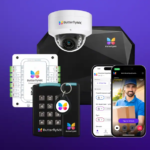
Step 4: Configure the Device in the ButterflyMX Dashboard
Now that the hardware is installed, configure the software:
- Log in to the ButterflyMX admin dashboard.
- Add the new device to your property profile.
- Assign permissions for tenants, staff, or delivery services.
- Set access schedules if needed (e.g., restricted hours for certain doors).
- Test app connectivity — ensure tenants can receive video calls and open doors remotely.
The dashboard is cloud-based, making it simple for property managers to update settings anytime.
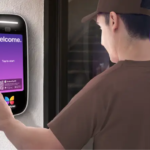
Step 5: Test the System
Testing is critical before going live:
- Check video & audio quality – make a call from the intercom to a resident’s smartphone.
- Test door release – confirm that doors unlock smoothly from the app.
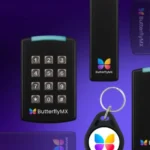
- Verify access codes & fobs – if using keypads or access cards, confirm proper registration.
- Simulate deliveries – test package room or front gate entry for couriers.
Document your test results for future reference and maintenance logs.
Step 6: Educate Tenants & Staff
Even the best installation fails without proper user adoption. Provide clear instructions to residents, staff, or security teams:
- How to download and log into the ButterflyMX app.
- How to accept intercom calls, open doors, or issue digital keys.
- Who to contact for support or access issues.
Consider a short onboarding session or quick start guide PDF for residents.
Step 7: Schedule Ongoing Maintenance
While ButterflyMX is designed for low maintenance, proactive checks keep systems running:
- Inspect wiring and device housing every 6–12 months.
- Review access logs for unusual activity.
- Update firmware when prompted.
- Confirm network connectivity after power outages or router changes.
If persistent errors occur, professional servicing ensures system reliability.
DIY vs Professional Installation
Some smaller setups can be DIY, but complex systems — especially those involving elevators, multiple entrances, or large properties — benefit from professional installation. Certified installers ensure:
- Proper wiring and secure mounting.
- Cloud dashboard integration without errors.
- Compliance with building codes and fire safety standards.
Final Thoughts
ButterflyMX offers one of the most advanced smart intercom and access solutions available today. With careful planning, step-by-step installation, and proper system testing, you can deliver a seamless access experience for tenants and visitors.
If you’d like expert help with installation, MetroCom Security is a certified ButterflyMX partner serving New York and New Jersey. Our team handles everything from setup to long-term support — so you can focus on running your property with confidence.